![]()
Creating the Virtual Machine
“WordPress is a content management system released on May 27, 2003, focused on the creation of any type of website.” According to these twenty statistics about WordPress by 2022 we find that WordPress is used by 43.2% of all sites on the Internet.
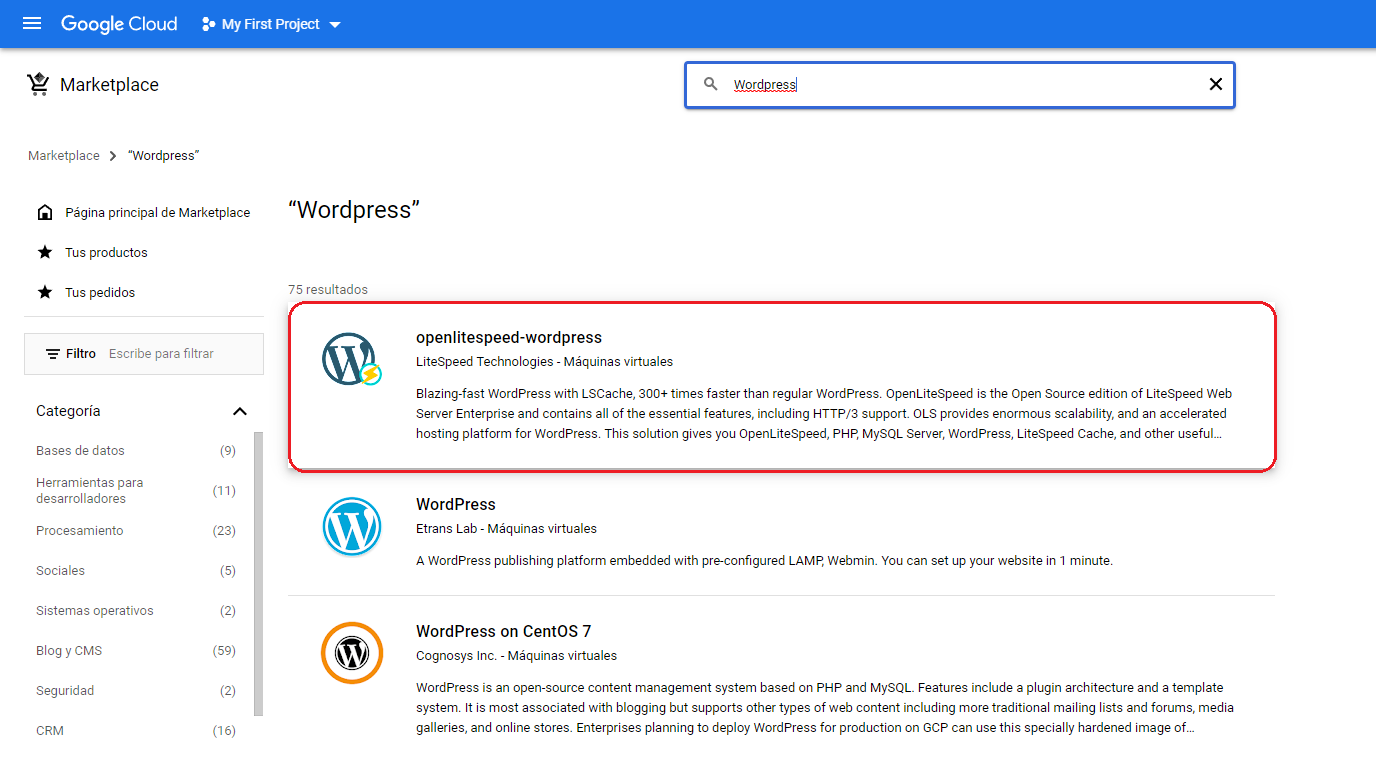
In order to run WordPress on Google Cloud (GCloud from now on), we must first create a virtual machine with one of the images that GCloud has. To do this we go to the top left, click on “More Products” and look for “Marketplace”.

A window will open in which we will look for WordPress and we will give the first option (openlitespeed-wordpress)
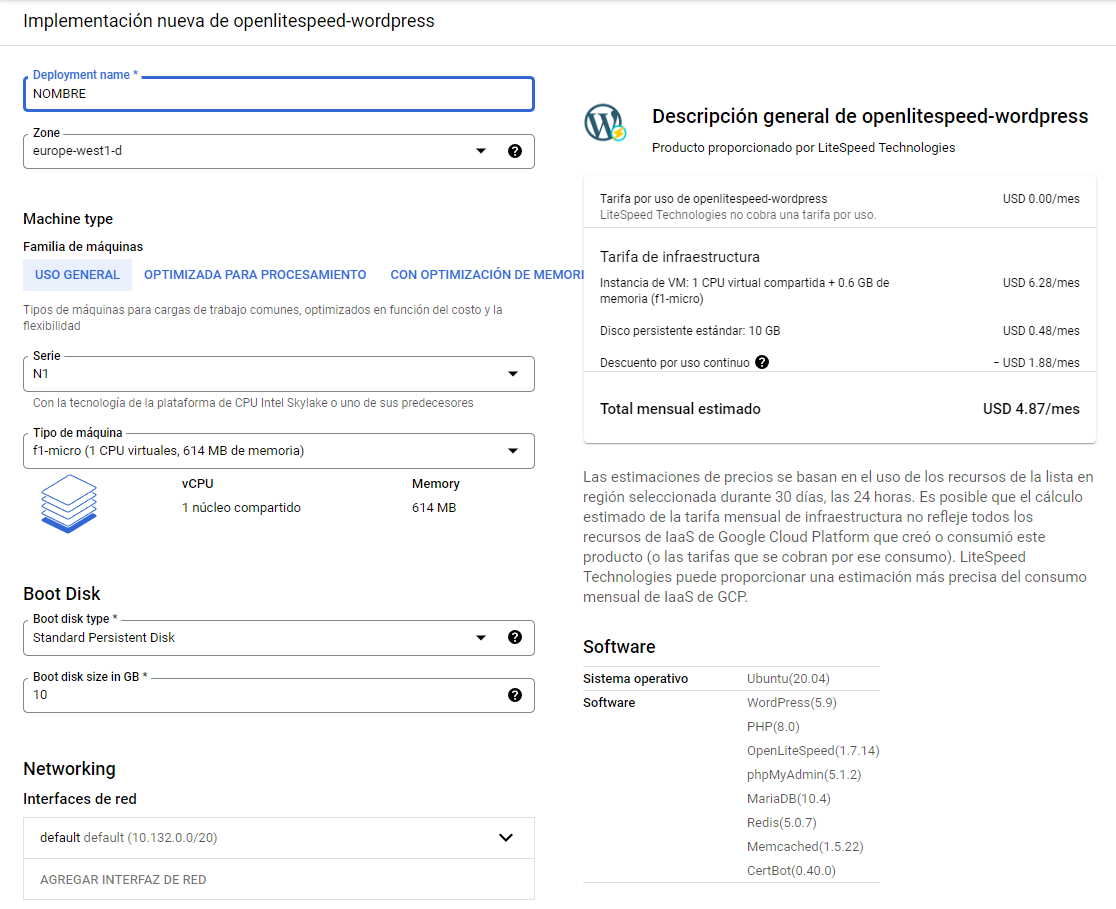
Next we are going to give it to “Start”, after this a window will open in which we will be able to modify the characteristics that will have our virtual machine, my recommendation is that we leave it as it is seen in the following image (of course choosing a different name). Everything else that you can’t see in the image is because we will have to leave it as it is. Click, accept Terms and Conditions and then create.
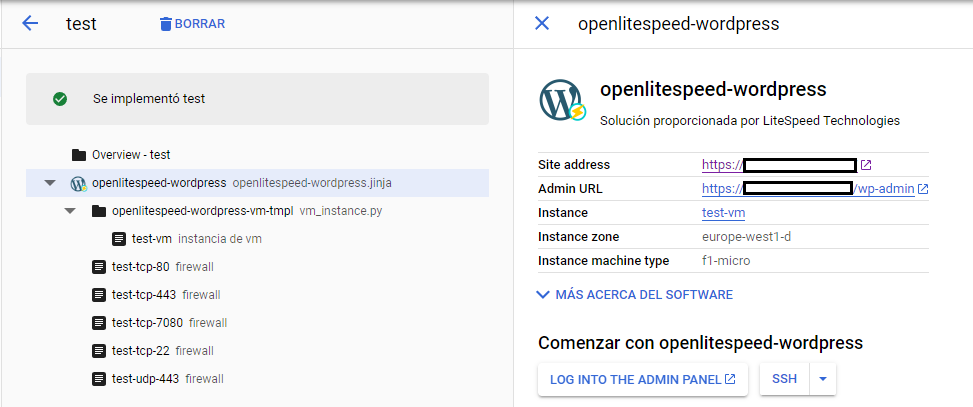
All right, that’s it, we have our virtual machine configured. The final result should be something like the following:
Logging into our VM
In order to complete the installation of WordPress and other plugins in our virtual machine, it is necessary to complete a series of steps.
First, we must install Google Cloud CLI, in the following link you will find a complete guide with the whole process, but if you just want to install it you can open a Power Shell as Administrator and run the following command:
(New-Object Net.WebClient).DownloadFile("https://dl.google.com/dl/cloudsdk/channels/rapid/GoogleCloudSDKInstaller.exe", "$env:Temp\GoogleCloudSDKInstaller.exe")

& $env:Temp\GoogleCloudSDKInstaller.exe
Once this is done and the CLI is installed, go to Start and search for “gcloud”, open the first result and execute:
gcloud auth login
A browser window will open in which we will have to choose our Google account with which we created the virtual machine. Accept everything and that’s it.
Once the console tells us that we are successfully logged in we will have to run the following command:
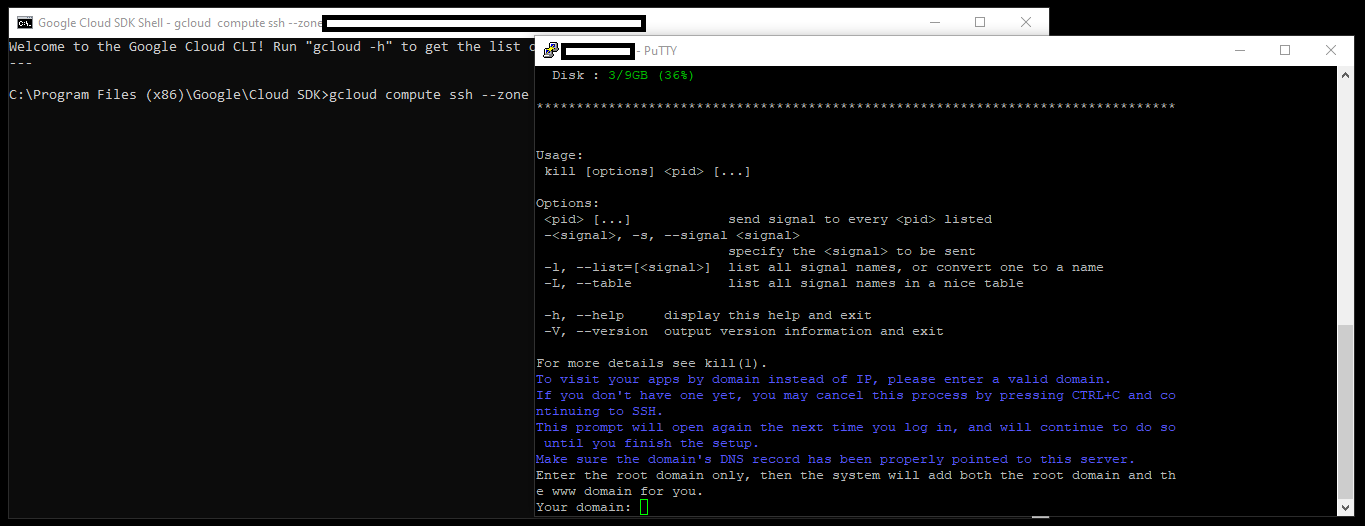
gcloud compute ssh --zone "YOUR_ZONE" "VM_NAME" --project "PROJECT_NAME"
It will open a window in which we will have to enter our domain and an email to be able to configure the SSL.
After this process we go to:
http://YOUR_IP/wp-admin
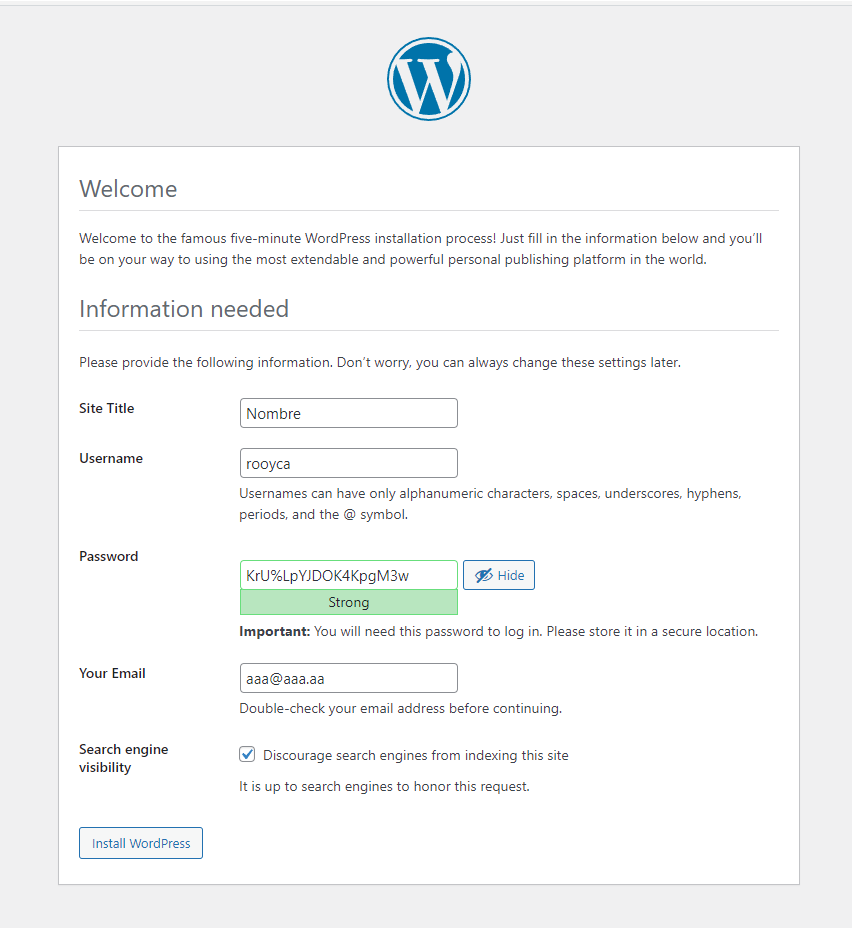
To install WordPress.
“Increasing” the RAM memory
It is very little RAM memory that we configure for our virtual machine, so it is highly recommended to Swap. “Swap is the space that the hard disk has to exchange physical memory with virtual memory”. To do this we are going to run the following commands, in order:
sudo fallocate -l 1GB /swapfile
sudo chmod 600 /swapfile
sudo mkswap /swapfile
sudo swapon /swapfile
free -m

#Para que cuando se reinicie el servidor conservemos el archivo SWAP
echo '/swapfile none swap sw 00' | sudo tee -a /etc/fstab
And that’s it, that’s how easy it is to run WordPress on Google Cloud.
See you next time. Have a great day.