Welcome to Radio Project
Today I want to start a series of posts in which we will learn together the steps to follow when creating an online radio station. At first, when I started this project I found several platforms that offered this service for free, but the vast majority of pages were paid and others had aged quite badly. But one day I found ZenoRadio (NO ADVERTISING, it really is a good platform), a modern alternative and with a very generous free plan.
Why create an online radio station?
There are several reasons why someone might want to create an online radio station, some of them would be:
-
Flexibility: An online radio station offers more flexibility than a traditional radio station. You can broadcast from anywhere, anytime, and reach a global audience.
-
Low cost: Creating an online radio station is cheaper than creating a traditional radio station. No expensive equipment is needed and there is no need to rent or buy physical space for the station.
-
Broader audience: An online radio station has the potential to reach a global audience. People can tune into the station from anywhere in the world, which means that new listeners can be reached from all over the world.
-
Interactivity: An online radio station can allow for greater interaction with listeners. Listeners can send messages to the station, request songs, and enter sweepstakes or contests.
-
Innovation: An online radio station can be more innovative than a traditional radio station. You can use tools such as artificial intelligence and machine learning to enhance the user experience and customize programming for each listener.
Creating our first station on ZenoRadio
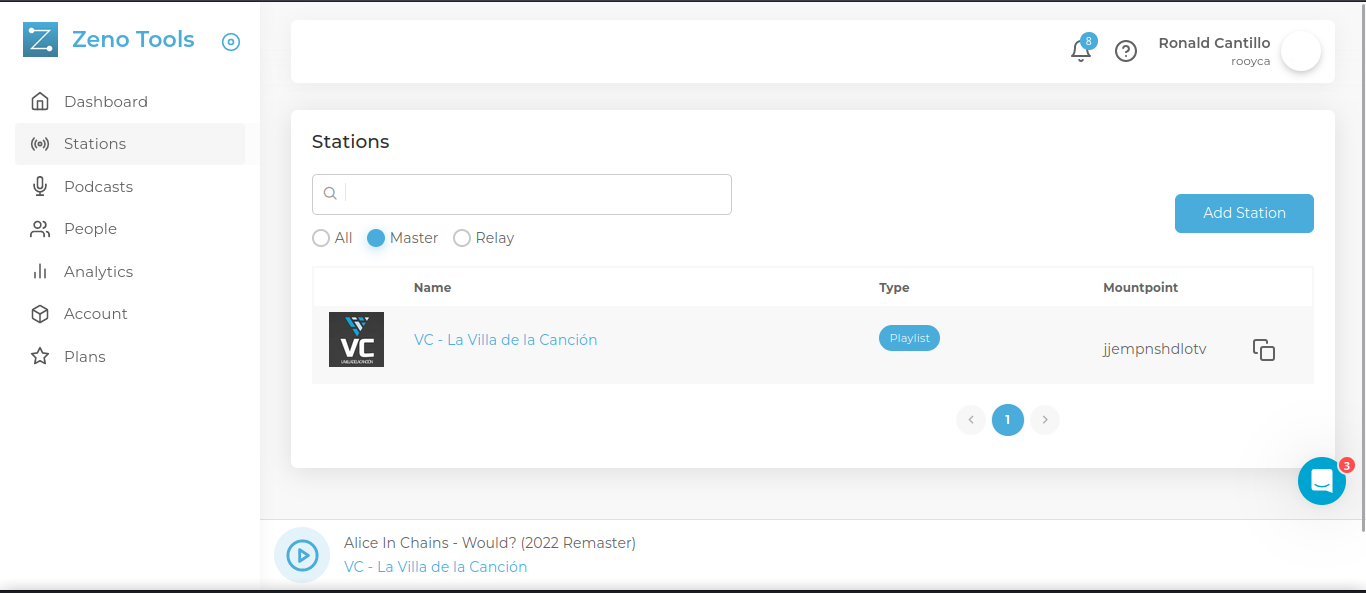
Clearly the first step is to enter ZenoRadio and create an account, either with Gmail or another email, it is super simple so I will assume that you already have an account. Once we have verified our account and entered our personal information, we will find, on the left side, the Stations option, where we can create our stations.
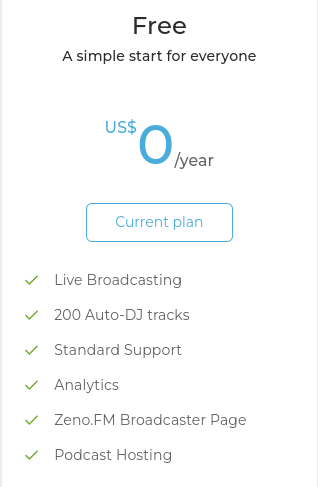
Click on the Add Station button. Fill in the requested fields; name, logo, type of content, etc., and finally press Create.Now we can finish configuring our station, adding more information about it, adding links to our social networks and much more. Once this is done we go to the Tools > Auto DJ tab to upload our audio tracks that will be played automatically, with the free version ZenoRadio allows us to add up to 200 audio tracks, but if we decide to pay the Prime plan we will have up to 1000 tracks.
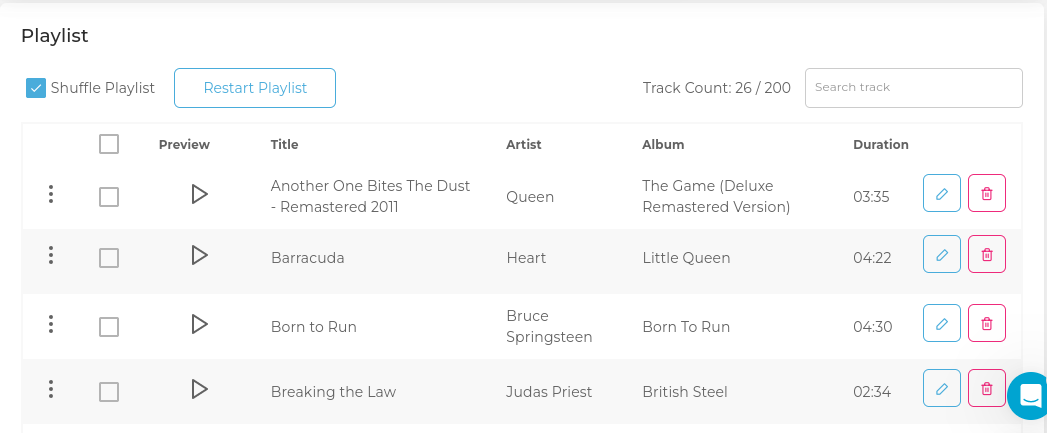
Once you have uploaded some tracks, a playlist will be created which you can organize as you like; on the left side of the three buttons you can drag the tracks up or down to change the playback order. To finish, we go again to Settings, we go down a little bit to the Server part and in Server Status we click to start the transmission.
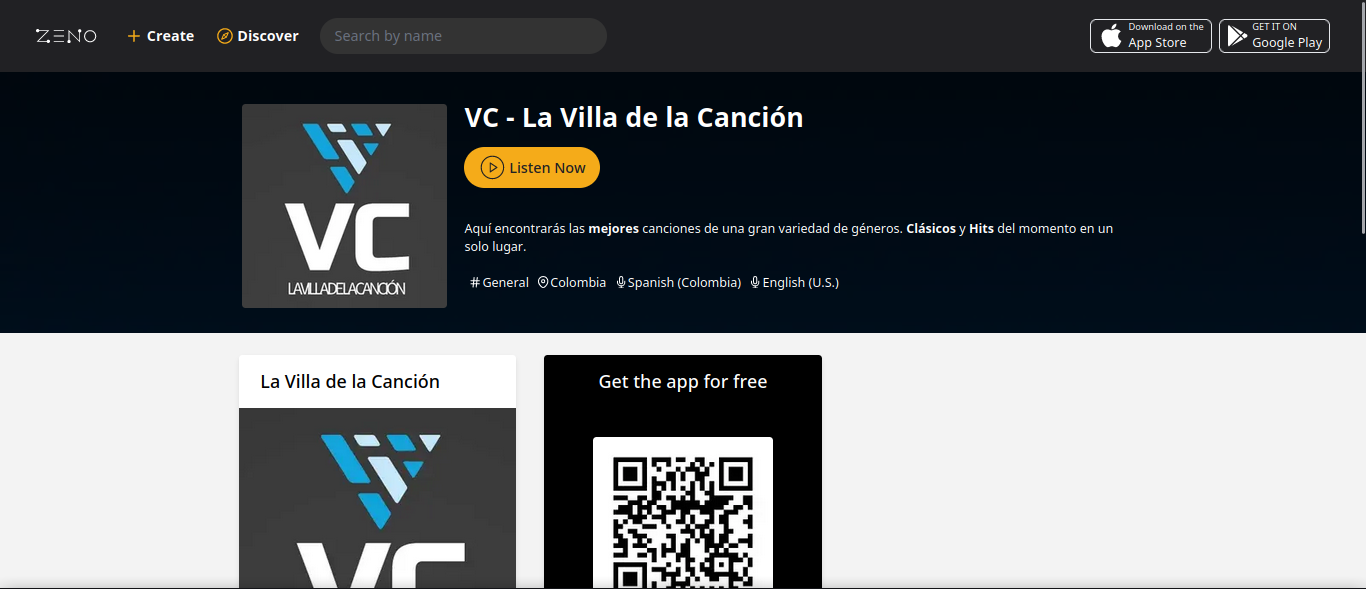
And that’s it, we would have our online radio transmitting.If we want to check that everything went well, we go again to Tools and copy the link that appears in the part of Page Settings (in this same part we can edit this link), we paste it in the browser bar and it should load our station.
In a next post we will see how to connect to our radio, to transmit from external applications such as Mixxx, VirtualDJ or MPD, we will also see how to obtain the .m3u link that will allow us to listen to our station from VLC or any other player that supports m3u.